How to Install GRP Water Tank?
Dezhou Huili Water Tank Co.,Ltd.focus on the best service,we breakdown whole installation video to each step for better understanding.On the below of all steps,we uploaded our whole GRP/FRP modular water storage tank installation video for your reference.(Each step matches real on-site installation video)
a). Layout all bottom panels according to the mark drawing(We offer the panel layout drawing)
b). Put the Φ10*45 bolt with two washers sanwich panels and rubbers.
c). The rubber’s two sides are different, thick side inward used for touching water. Screw bolts (No need for auxiliary angle bar for bottom).The torque is 17 N·M (Caution: when screw the nearest two bolts at each panel corner , the torque should less than 12 N·M to avoid damage)


d). The rubber must be longer than panel and cut the spare parts after fasten.
a). The assemble method is same as bottom panel(Refer to 5.2) ,the only difference is no need auxiliary angle iron for horizontal and vertical. Put the angle iron and bolt them together.
b). The sequence is bolt-washer-panel-rubber-panel-angle iron-nut (Caution: when screw the bolts at cross stitch of the panel, the torque should less than 12 N·M to avoid damage,rest bolt torques should be less than 17 N.M)
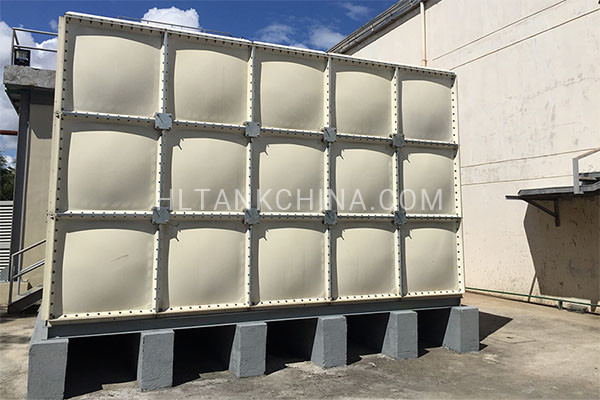
Pls kindly check below side panel installation details:
GRP Water Tank Installation Tool Preparation
Before installing the GRP panel water tank, we prepare all installation tools in advance to save site preparation time, avoid unnecessary delays, and improve installation efficiency. This ensures the workers can start assembly immediately and complete the tank installation more smoothly and quickly.
Full GRP Modular Water Tank Installation Guide
After all above breakdown installation videos,we have whole GRP modular water tank installation video below for your reference.(Take note:with over 15 years of export experience,we have improved a lot from material to skill and technology to installation process,all water tank details subject to real order)
Leave A Comment